THE OFFICE / GUESTROOM : THE PLAN

 
83CC561A-8165-4707-8F0D-8E0AC11E8102-FC6FCBB7-ECEF-4C9B-B4A5-718ED937366B.JPG

Here we are at the homestretch of 2020 and we are preparing for Home Renovation No. 5: The Office / Guest Room!

I started working full time in here since the pandemic has required us to WFH. The windows in this room are the same as we replaced in our living room, but worse. It didn’t really bother me too much since weather was warming up and drying out but as soon as the rains came back with Fall it was clear: we need to replace these ASAP. The giant garden window not only let cold air in but also leaked creating a perfect storm for mold to grow. So, I am now working from the dining table, again.

Our only spare room in our tiny home was always meant to serve as a guest room. Danny and I used to love hosting our friends and family who would come up from LA quite frequently so having our extra queen bed set up in here was perfect for our parents and friends traveling in twos. But with travel and visitors being on hold and the need for a dedicated space for me to work until further notice, we started to re-evaluate the use of this room and having a giant bed in here just didn’t make sense anymore. So, we decided to lose the bed and invest in a nice sofa sleeper that will still be large and comfortable enough for our guests while also creating a more office-like feel.

Since Danny works out of the detached studio and uses our basement as his music space, this room is MINE. And though we typically always agree on how we decorate and curate our home, this is an opportunity to create a more fun and bold - colored space. With that - I am excited to announce that we have finally purchase the velvet-green sofa of my dreams!!! But since it’s still 2020 and everything is a dumpster fire, the delivery of it has been delayed until March. But, that’s okay - we have work to do….

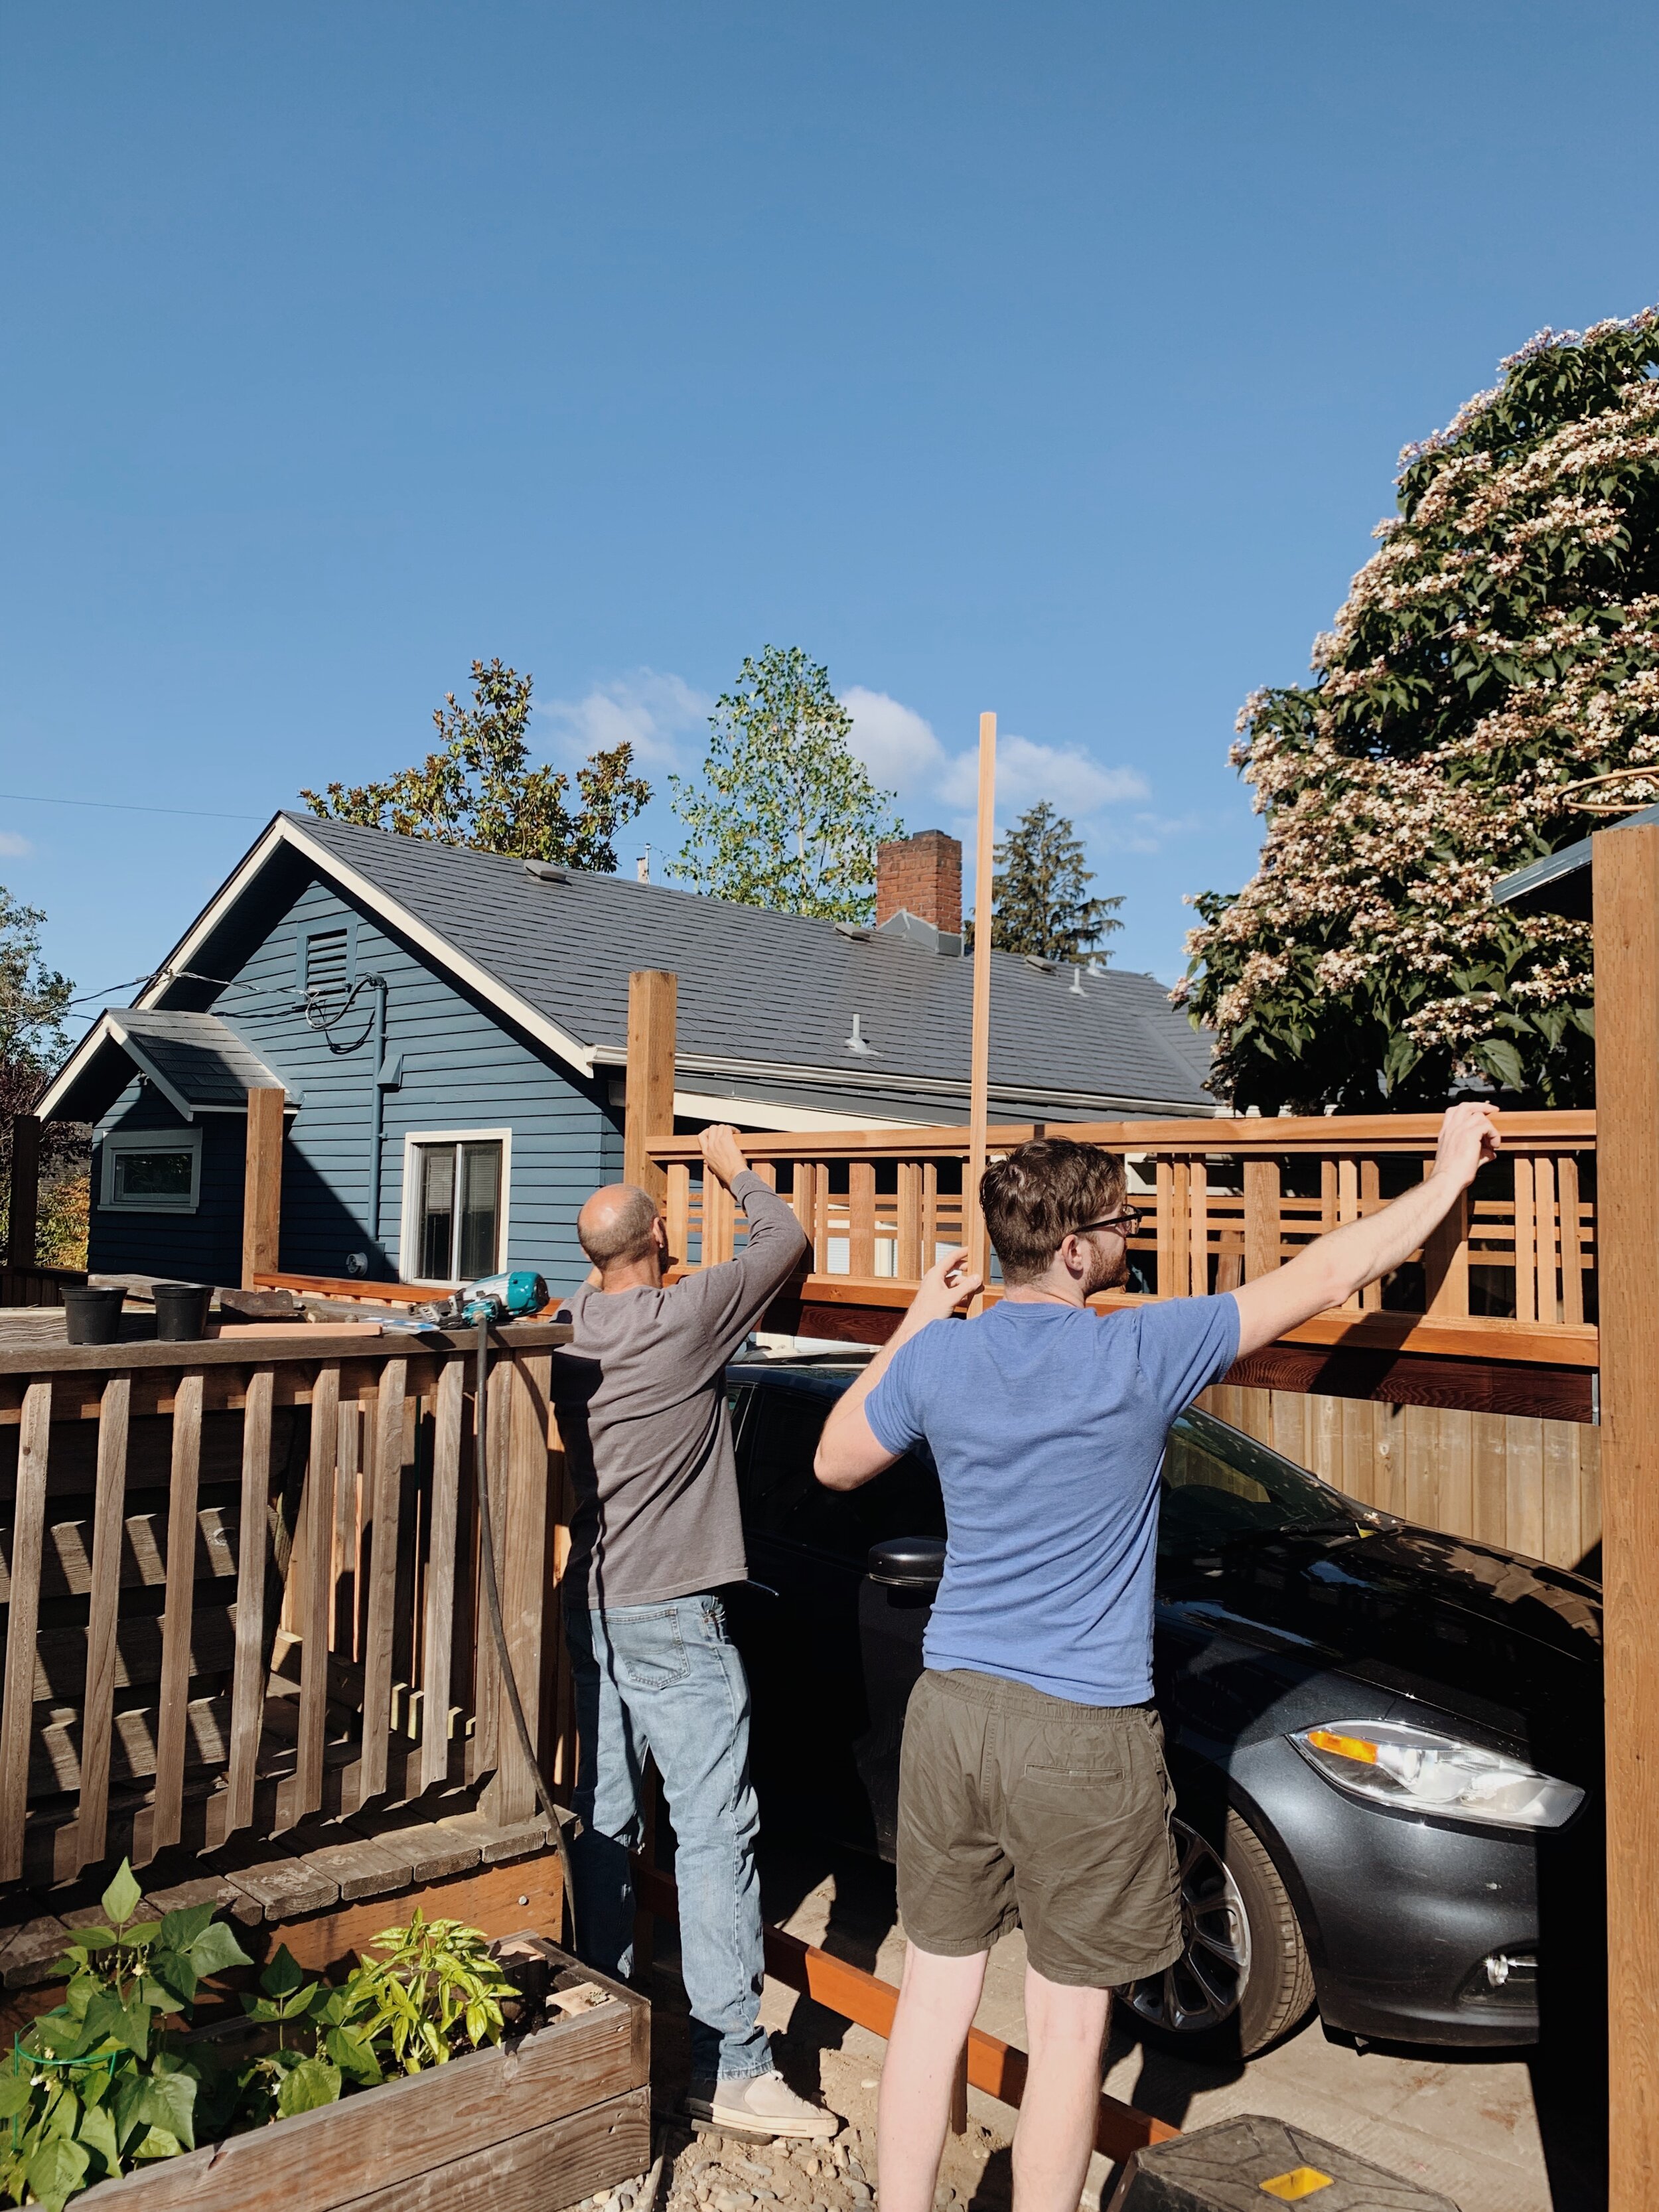
This renovation stretches farther than this room… We have decided to replace ALL remaining windows in the house which include the two upstairs and the four in our kitchen. We will also be smoothing the ceilings, adding in crown moulding, and replacing the trim in both the office and hallway. And lastly: finishing our “new” closet under the staircase that we have put off for two year… but more on that in another post, soon.

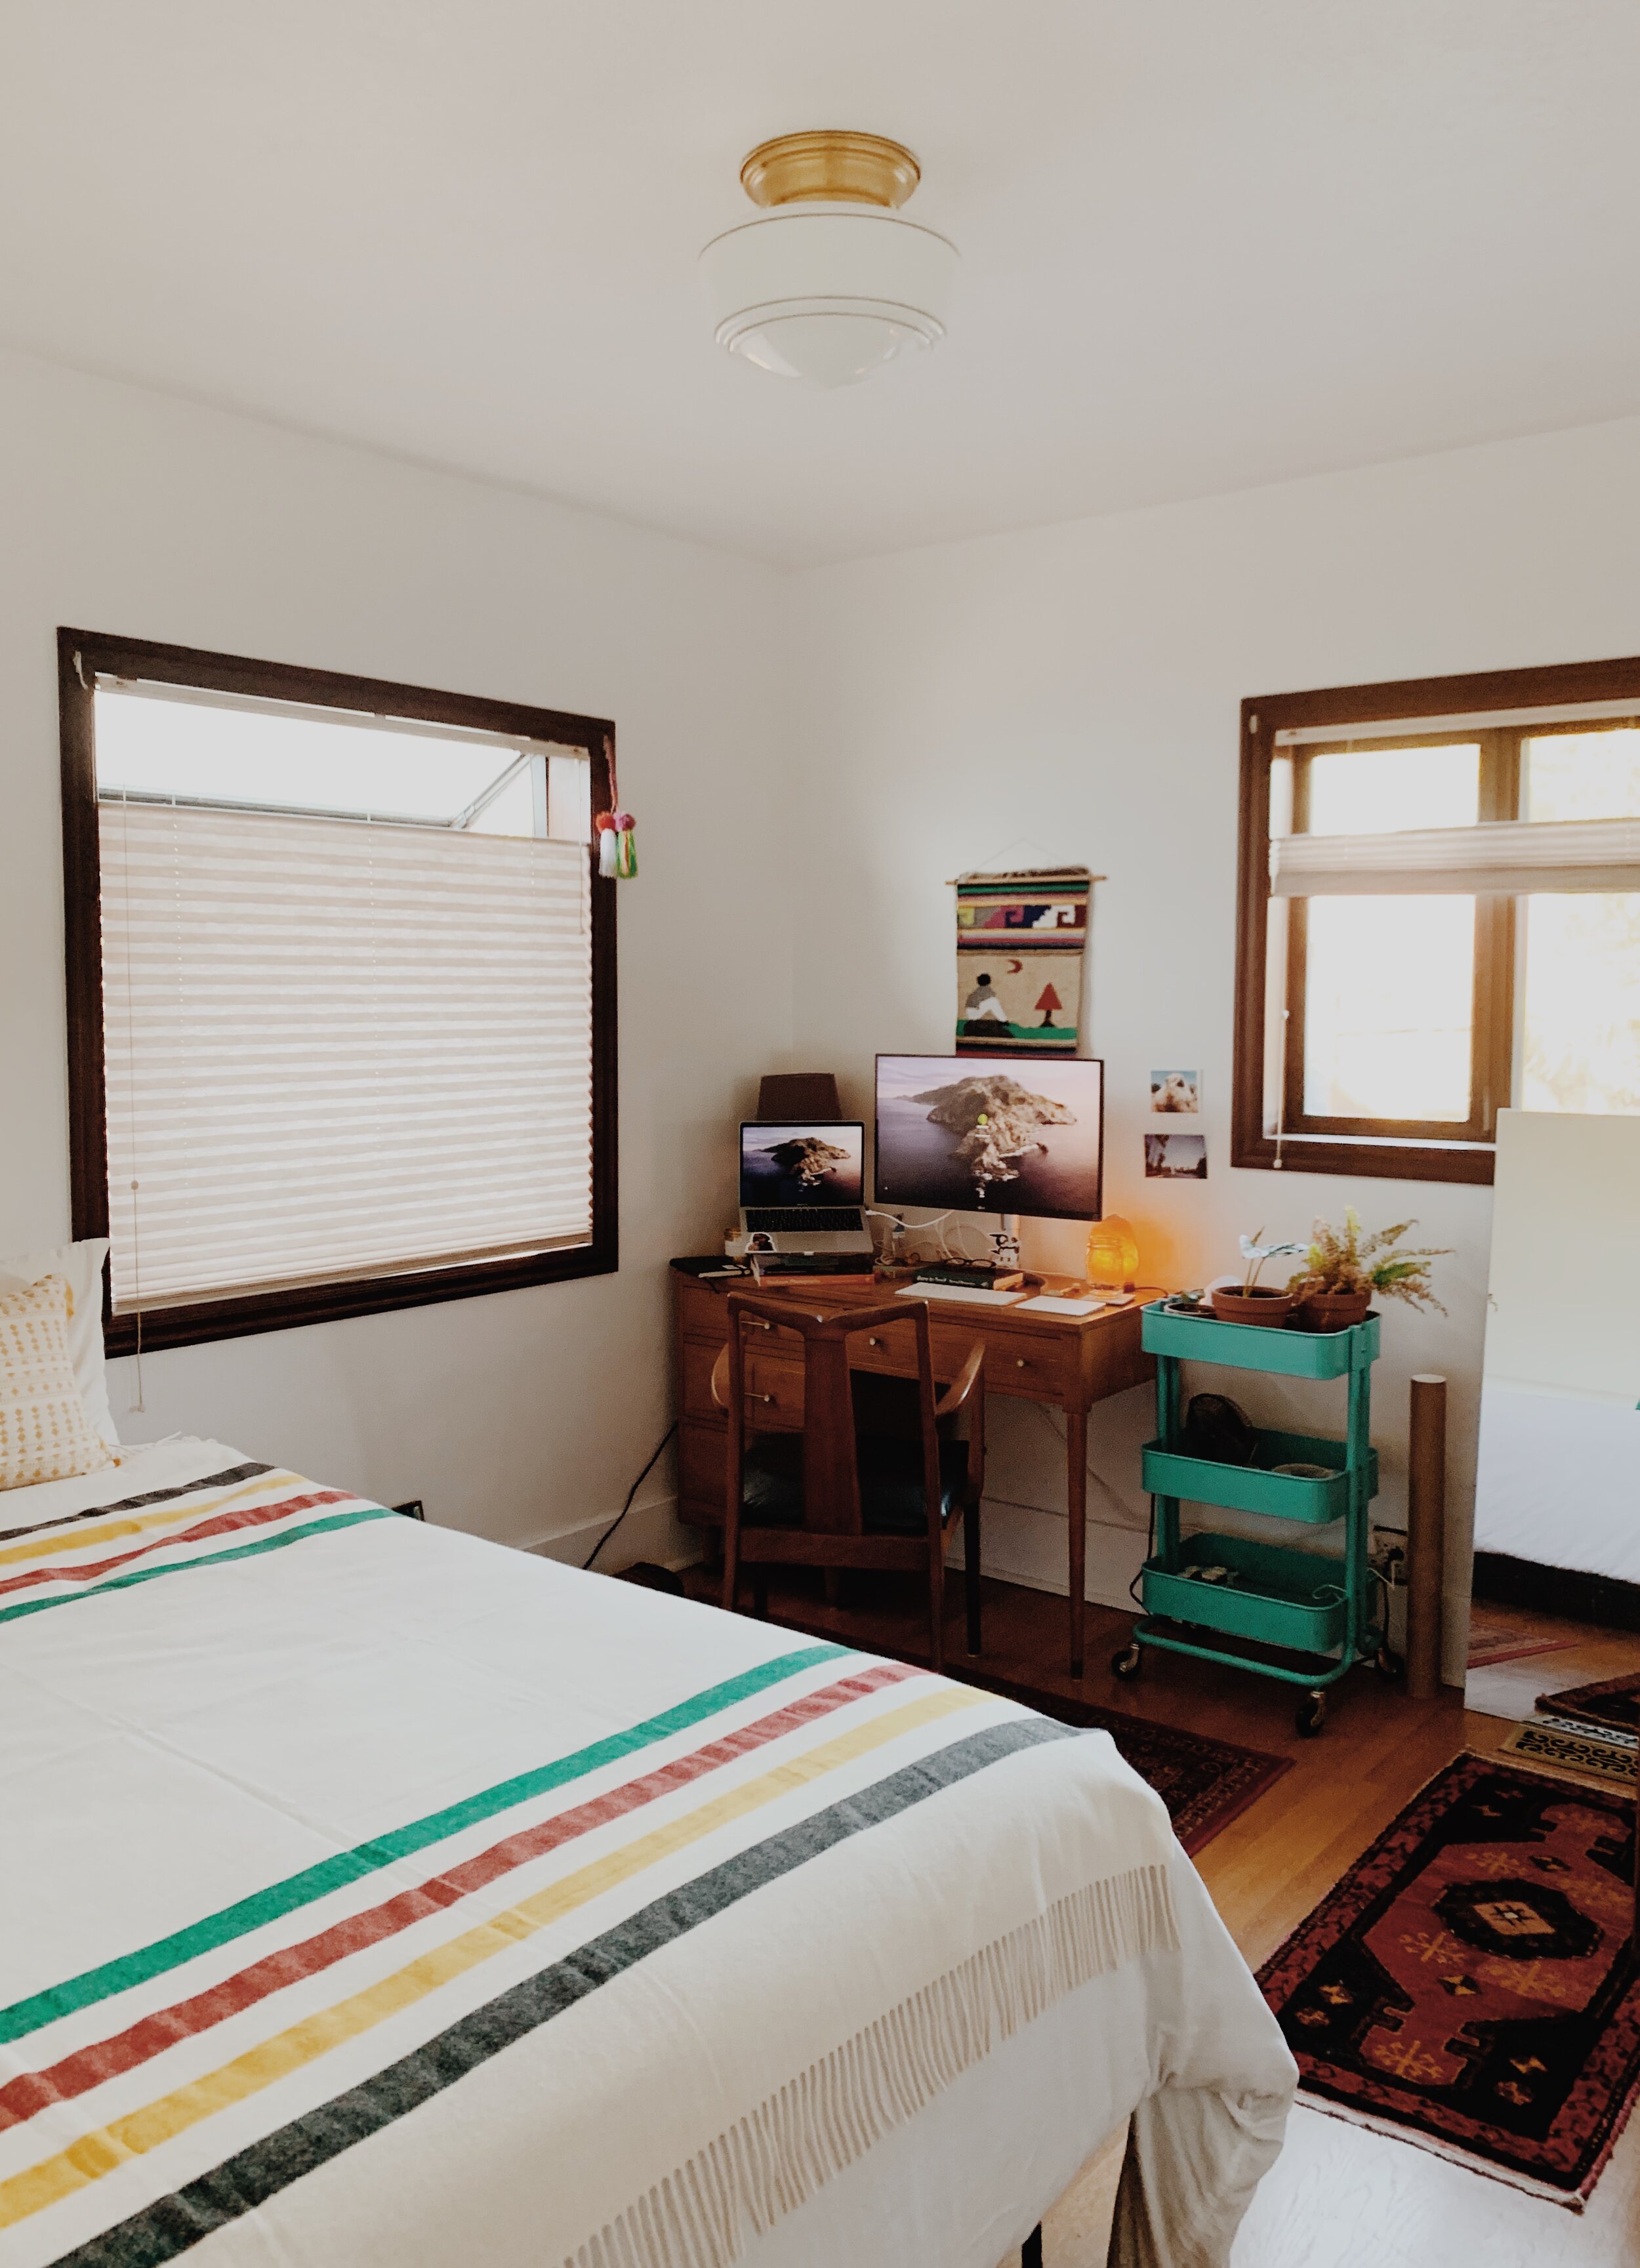
Below is a photo of the room when we bought the house. Since then, we have and changed the lighting to a beautiful surface mount from Schoolhouse Electric. Little changes made a huge impact.

officeOLD.jpg
2C321D5B-F8CA-4C67-84CD-C436B58DDC3A.jpg

I threw together a mood board for the room to get my vision in line. I will be using a lot of my existing furniture as can see above with adding in a few more accents to make the room both functional and styled. My color palette will be more rich than the rest of our house but still keeping in line with my heavy use of woods and neutrals (using the same paint colors as the living room) to keep my natural inside-outside vibe.

Work is due to kick off mid-to-late January (I hope) and will sharing updates as the project moves along!
Thanks for being here!

Inspiration Photos: 1 / 2 / 3 / 4


Follow

DAY TRIP // THE OREGON COAST

 
BED3BB43-5589-4943-9965-F45BCAFE11CC.JPG

After Thanksgiving Danny, Steve and I took a sweet little daytrip (complete with leftovers) to the coast and explored from Lincoln City to Otter Rock and it was so dreamy. It was our first time in this area and so far it has been our favorite. Just a two and half hour drive from Portland, it’s easy to get to but the drive there and back in one day can be a bit much and a bit scary in the dark. We would love to spend a weekend out here post-pandemic, walk the town streets (we only drove through to avoid closeness with the public), eat fish & chips, and stay in an ocean front room. Until then, we can dream.

coast2.JPG
coast3.JPG
coast12.jpg
coast4.JPG
coast5.JPG
coast11.JPG
coast7.JPG
coast8.JPG
coast9.JPG
coast10.JPG

OUR BACKYARD : NEW FENCE

 
52972CC6-7E52-4CA6-A39B-0B1642283A9B-9C61D2DB-C8A3-4779-BDA7-CC17B5AF81E7.JPG

Here we are almost six months into COVID and I have barely posted ANYTHING. Even with the endless staying at home and eating-in that has taken place, you would think I would have had more fun recipes and projects to share, but the WFH life has proved to be more demanding and time consuming than being in office. Meetings. So many meetings and so much screen time. It’s been nice to unplug and read in the back and garden. That being said, we couldn’t stop thinking how we need to do some upgrades to our backyard. We currently have three different types of fences across our yard since our lot is angled and we touch five other properties: some long, some newer, some old, and then one that was about to fall apart. Luck would have it that the one literally rotting away belonged 100% to us - so we started there. This was kind of an unexpected upgrade this summer but WOW did we need it. It is literally what fence-dreams are made of!

Here’s a look at a look at the before…

766C28A4-D14F-4A5E-ACEF-4BD0E9462C9E-4EF81973-9B1A-4C08-91A1-D6EF79C12A3E.JPG
50A7D02C-3626-4DB4-8C51-A35C8FE804DD-E6F8B2C1-9090-466A-90F1-3992F873C110.JPG
BBD7F98E-0619-47F8-8D1E-7A9FE3642894-F63C4B3D-D951-4B81-9650-4B829F3E1E0C.JPG

This fence had to be least 30-40 years old! Super weathered and leaning in spots. Our first instinct was to only replace the existing fence - have it wrap around the desk as it was. But after what it felt like hours of Danny and I standing outside looking at it, we decided it would be great to extend it to wrap around the guest-room (aka now my official home office) window to create privacy and other security for when we egress the basement window underneath. Danny came up with an awesome design on the back of some mail (because that’s where the best ideas and notes are made) and we were ready to go!

Screen Shot 2020-09-01 at 10.42.07 AM.png


We worked with our cool-cat-carpenter friend (who also built our staircase as well as helped w other misc. projects) who took us to Custom Cedar Products here in Portland to look at cedar. This place has the most beautiful cedar with train tracks behind it where the wood directly comes from the source - VERY Twin Peaks! Staff was also super helpful in our selection and even recommended adding a “Catalina” Lattice on top to add height as well a decoration for vines to grow. Uh, yes please! Would 10/10 recommend this place and it smells go good!

E1584945-176F-4E77-B864-33F770303E68-69AEA595-8E76-420A-B4B7-850109B8FAE7.JPG

Since we decided to go with a “Good Neighbor” style fence that alternates board construction with decorative posts (kinda like the old one), we had a lot of prep staining to do first to the inner sides of the panels before we could kick down the old fence and get to building. Though fresh and natural cedar is gorgeous, we knew it would weather overtime and turn a grayish color and stain will also help protect and preserve the wood. We used Ready Seal’s Natural Cedar stain to match the other existing fence on this side of our property and man-oh-man did it bring out the rich color variants in the cedar! This stain was also so easy to use and “goof proof” meaning that it won’t get darker and darker in areas when gone over twice! Which is amazing if you’re not pro like myself. This really helps for bleeding on side and underneath the boards. I stood up the panels to dry over the old fence and it really gave us a great glimpse into what the final product would be.

A4330F93-C8D4-4FCC-A7C9-5133E5ADCBB2-AAC69290-DA42-49BD-91EE-483E2D7A29D8.JPG
4F537F81-6C3B-49E8-A345-523F372B0DD0.JPG

Next, came demoing! Which was super and fun and easy since this fence was partially rotted through. Even getting the old posts out wasn’t that hard. And we also removed this ridiculous, wild shrub that Danny described as an old giant TV on the side the house which constantly grew into our neighbors drive way. BYE.

5B85DFC4-CC3E-4844-935F-30344A632292.JPG
F1946C99-C66B-495E-8CFF-C82C3023D170.JPG

We got the new posts in smoothly and then let them set overnight before adding additional supports and panels. I even engraved “DAS” into the new cement but it got covered in dirt shortly after and now I can’t find it! At this point our design evolved a bit with adding in another step down from the original plan. The whole thing really came together when we added in the Catalina Lattice and the post caps!

10518B99-DCB7-420A-A1C5-5A15D57F9E5B-FCAE6BB0-95A9-44C2-8022-895A6D4D3F06.JPG
D5931C83-5BC0-49C7-87AC-269907874581.JPG

This is the point where we stopped and asked ourselves if we should put in a jacuzzi here.

B9C62464-E7EA-4210-91AC-86820C70F0CB-088FCD27-AF03-47C6-82FD-4B095C9C3E99.JPG
12D88A4A-F620-4DE6-99E6-42F98F474986.JPG

I was very surprised how quickly the entire project went! Before we knew it, we had a new and a beautiful fence for us and our next door neighbor! (Pro Tip: Use stainless Epoxy Screws to prevent black bleeding down the fence as it weathers.)

But the job wasn’t done yet: we still needed to stain the entire thing!
The initial plan was to spray it, but day-of was a bit breezy and we have never had great success spraying stain so we ended up hand applying it ALL. Danny and I both took a side and went for it. The lattice the took the longest by far and then we were able to roll on the rest. This took just over eight overs! Coming in at total of about 20 hours of staining including prep work and just shy of three gallons! Ooof. But we got it done and the results are worth the hard work!

6C66DFB4-A0AA-41F8-876A-BD43CAF539EC-2805BD41-9C10-4112-9461-A2DFDC67BDE2.JPG
9C177B76-9C7D-4648-9A18-1448B5D00621-9BEC2EC3-0F44-40AD-BBAE-4AD93A6127E1.JPG

Danny ended up removing the deck railing because he said it was obstructing his view of the new fence from the kitchen and I love him for that.

A244A223-6856-466F-BFDA-422FCF56D21B-81EEC5B0-C383-4274-89D6-476F252DD683.JPG

We love this fence so much and are 100% happy with our spontaneous decision to change this out this summer! The old fence was so old and such an eyesore but I did not realize how to big of an impact it had on the look of our yard until this arrived. I planted a clematis the other day on the side outside the office window and fingers crossed it grows quickly so we can have beautiful blooms within the next year or so!

Now we want to remodel this entire deck! Maybe next summer!

More home updates coming soon!

LINKS
Cedar Wood
Catalina Lattice
Stain - Ready Seal Natural Cedar
Post Caps


Follow